


Complete AirTAC SC Pneumatic Cylinder Force Chart
May 25 2026This AirTAC SC force chart helps you select the correct bore size and pushing force for pneumatic systems. Learn the most common thrust values and important cylinder selection considerations.
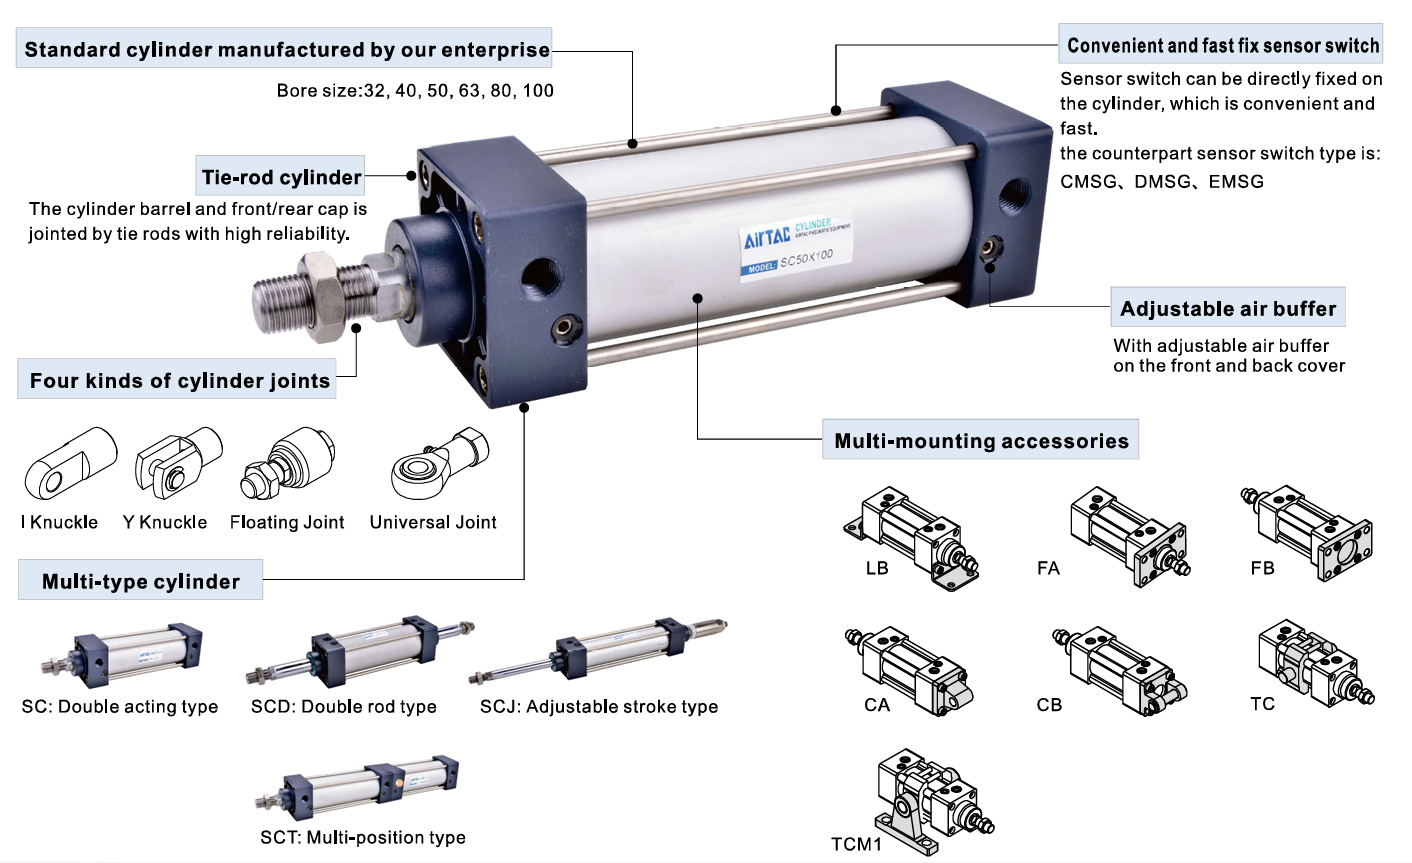
Why Is the AirTAC SC Force Chart Important?
When selecting a pneumatic cylinder, many people only look at:
- Bore size
- Stroke length
- Cylinder dimensions
but forget the most important factor:
👉 Actual cylinder pushing force
If the force is selected incorrectly:
- The cylinder may fail to push the load
- The machine may vibrate
- Air consumption increases
- System lifespan decreases
👉 That is why:
- A cylinder force chart is one of the most important references in pneumatic system design.
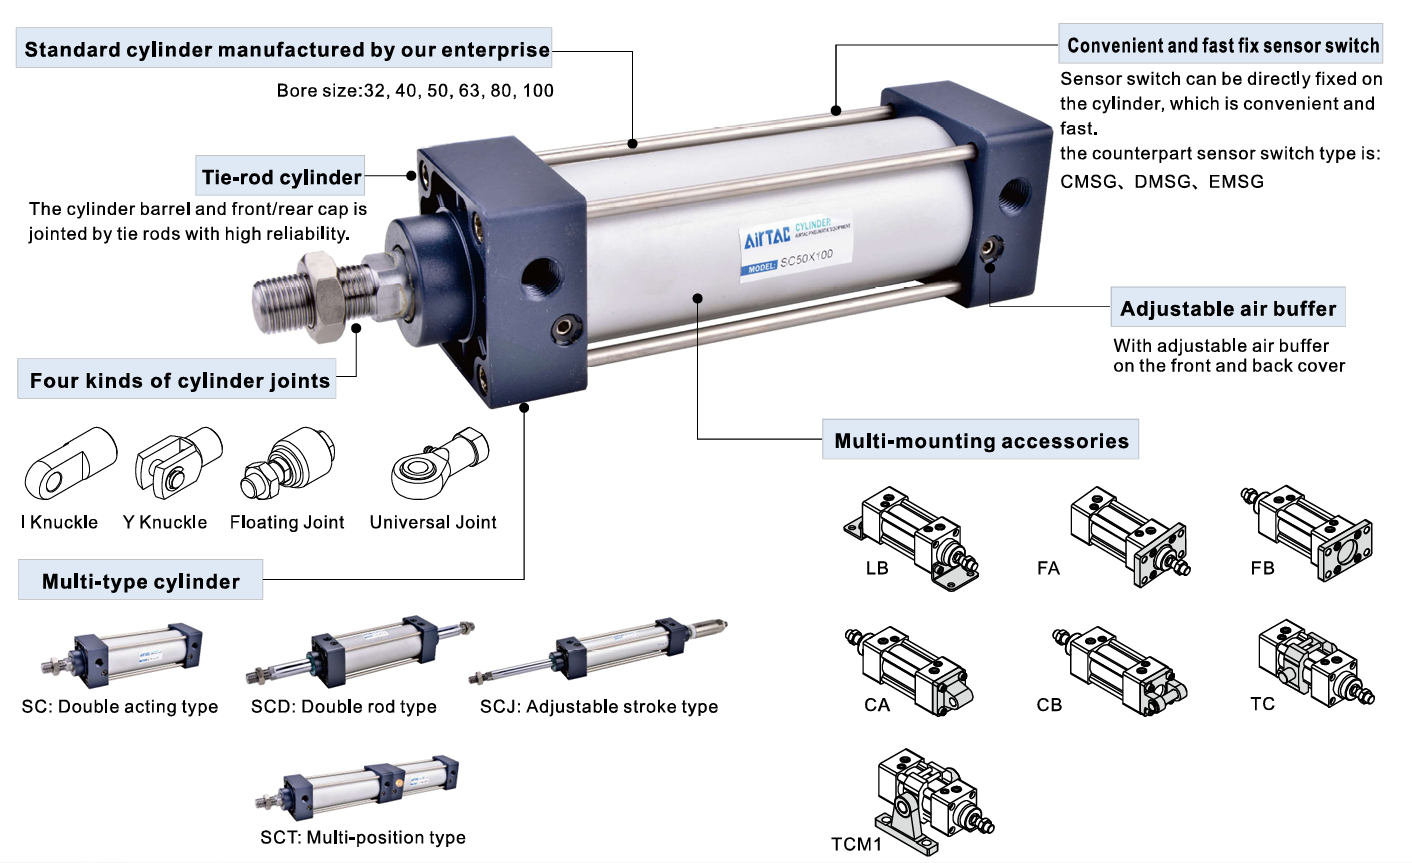
How Is Pneumatic Cylinder Force Calculated?
Cylinder force depends on:
- Air pressure
- Piston area
- Cylinder bore
F=P×AF = P \times AF=P×A
Where:
- F = Force
- P = Air pressure
- A = Piston area
👉 Larger bore:
- Larger piston area
- Greater pushing force
Why Do Cylinders Produce Different Force at the Same Pressure?
For example:
- SC32
- SC63
- SC80
may all operate at:
- 6 bar
👉 However:
- Larger bore cylinders generate much greater force.
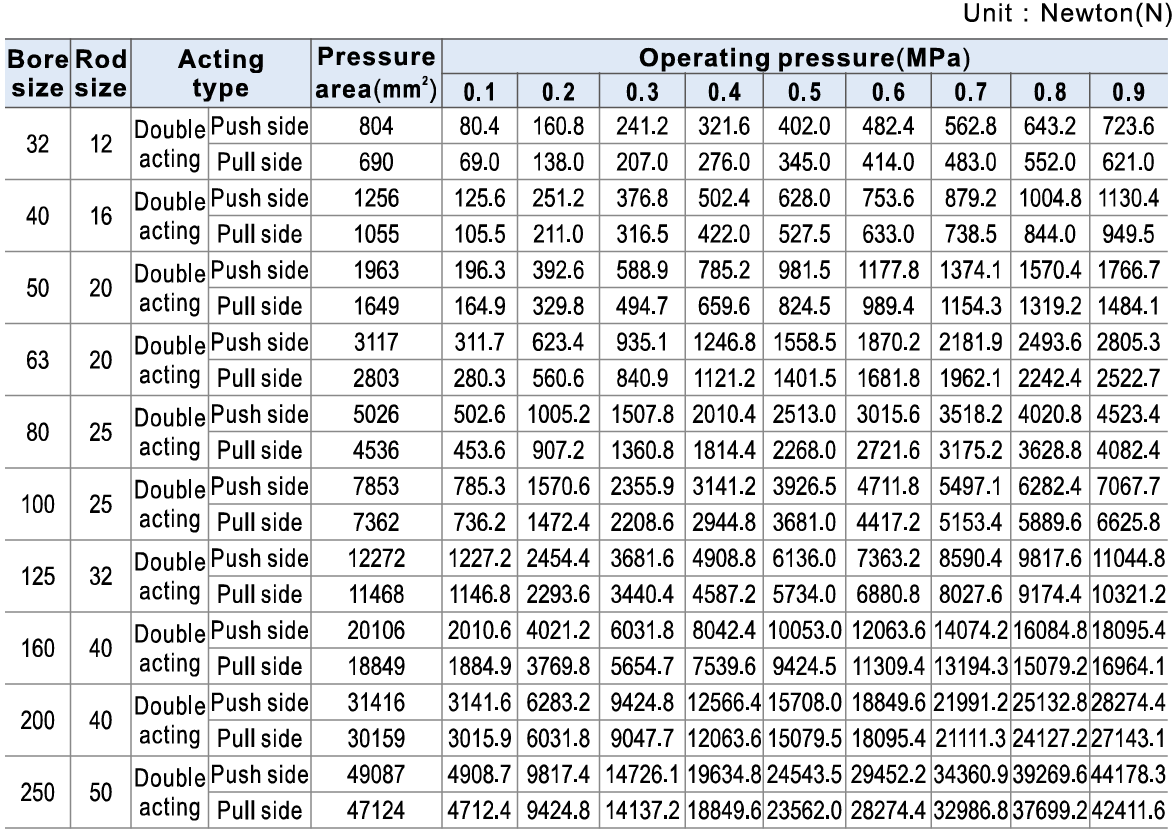
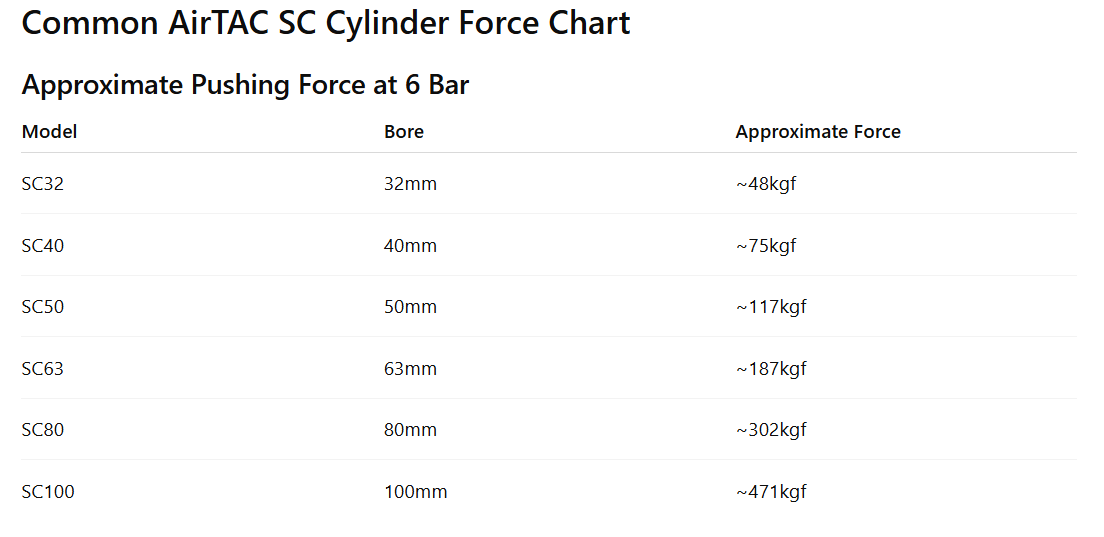
👉 These are common reference values used in real industrial applications.
Why Is Actual Force Sometimes Lower?
In real applications:
- Friction
- Air loss
- Side load
- Incorrect alignment
can all reduce actual cylinder force.
👉 Therefore:
- Never choose a cylinder exactly equal to the required load.
In most applications:
- A 30–50% safety margin is recommended.
How Much Extra Force Should You Choose?
This is one of the most common mistakes.
Example:
- Required load = 50kg
- Selected cylinder force = 50kg
👉 Result:
- Weak cylinder performance
- Unstable operation
- Faster seal wear
Safe Force Selection Rule
In most cases:
- Recommended safety margin:
- 30–50%
Example:
- Actual required force = 100kg
- Recommended cylinder force:
- 130–150kg
👉 This helps:
- Improve stability
- Extend lifespan
- Reduce vibration
Should You Choose SC63 or SC80?
This is a very common question.
When Should You Choose SC63?
SC63 is suitable for:
✅ Medium loads
✅ Pneumatic jigs
✅ Medium-sized automation machines
✅ Lower air consumption requirements
👉 Approximate force:
- ~180–190kgf
When Should You Choose SC80?
SC80 is suitable for:
✅ Heavy loads
✅ Pneumatic press machines
✅ Long stroke systems
✅ Large industrial automation systems
👉 Approximate force:
- ~290–300kgf
Why Bigger Bore Is Not Always Better
Many people think:
- “Bigger bore means better performance.”
👉 This is a common mistake.
Oversized cylinders may cause:
- Excessive air consumption
- Jerky movement
- Strong impact force
- Reduced positioning accuracy
When Should You Avoid Increasing Bore Size?
Avoid oversized bore if:
❌ The load is light
❌ High speed is required
❌ Smooth operation is important
❌ Installation space is limited
👉 In these cases:
may be better solutions.
Factors That Affect Actual Cylinder Force
Air Pressure
Lower pressure:
- Produces lower force
👉 Example:
- 4 bar generates much less force than 6 bar.
Side Load
If the load is off-center:
- Cylinder vibration increases
- Piston rod wears faster
Airflow Capacity
If:
- The valve is too small
- Tubing is undersized
- The FRL unit is clogged
👉 The cylinder may still become weak even with sufficient pressure.
Conclusion
The AirTAC SC force chart helps you:
- Select the correct bore size
- Choose proper pushing force
- Reduce design mistakes
- Improve system stability
👉 When selecting pneumatic cylinders:
- Do not rely only on bore size
- Always check the actual thrust table
👉 Most importantly:
- Always include a 30–50% safety margin.
How to Select AirTAC Solenoid Valves from A-Z (With Technical Guidance)

AirTAC Pneumatic Combo Solution – Valve + Cylinder + Air Filter
Where to Buy Genuine AirTAC Pneumatic Valves – Trusted Suppliers
Latest AirTAC Solenoid Valve Price List – 2026 Update
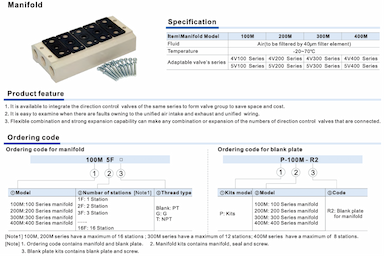
AirTAC Solenoid Valve Accessories – Quick Connects, Silencers, and Sub-Bases
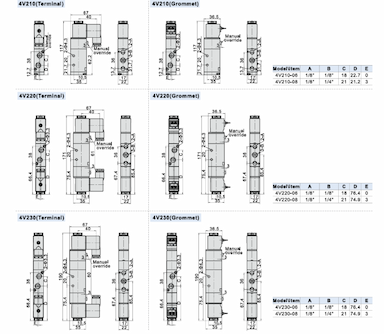
Top-Selling AirTAC 4V Series Solenoid Valve Models in 2026
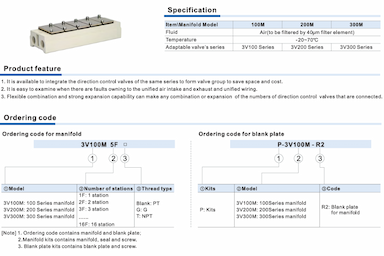
AirTAC Solenoid Valve Catalog – Full Guide to Download and Use the PDF
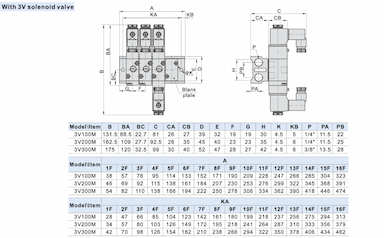
Complete AirTAC Solenoid Valve Specification Table – Your Ultimate Guide
AirTAC Solenoid Valve Maintenance Checklist – Troubleshooting Guide
Solenoid Valve Vibration and Noise – Quick Troubleshooting Guide for Pneumatic Systems